
Introduction
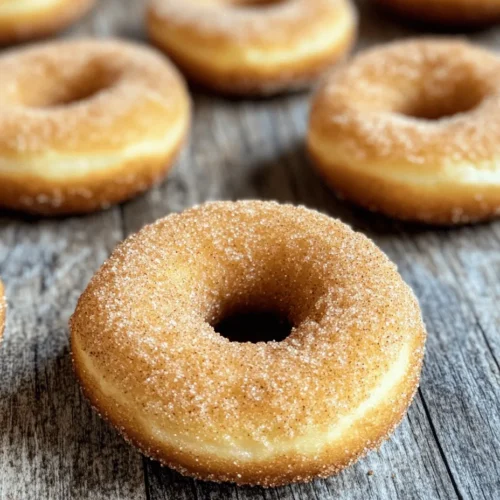
As the leaves transition into vibrant shades of red, orange, and gold, and the air turns crisp, the joy of autumn flavors comes alive. One of the quintessential treats that perfectly captures the essence of this season is the beloved apple cider donut. These delectable pastries evoke warm memories of apple-picking adventures and cozy gatherings, making them a must-have during the fall months.
Apple cider donuts are not just a seasonal delicacy; they carry a comforting, nostalgic appeal that transports you to orchards filled with ripe apples and the sweet scent of cider simmering on the stove. Their warm, spiced flavor envelops you in the embrace of autumn, and the best part is that you can easily create these mouthwatering treats right in your own kitchen. The process is straightforward, and the delightful aroma that fills your home while they bake is simply irresistible.
The Allure of Apple Cider Donuts
Apple cider donuts hold a special place in the hearts of many, particularly during fall festivities. Their cultural significance is deeply rooted in regional celebrations across the United States, from harvest festivals to county fairs. These donuts are often associated with family outings to local orchards, where the joy of picking fresh apples is perfectly complemented by the indulgence of warm donuts dusted in cinnamon sugar.
These treats embody the flavors of the season with their unique combination of spices and the rich essence of apple cider. Each bite offers a harmonious blend of sweetness and warmth, thanks to the carefully selected ingredients that make up the batter. Not only do apple cider donuts shine as a delightful breakfast option, but they also serve as a perfect dessert, pairing beautifully with a steaming cup of coffee or a refreshing glass of cider. Their versatility makes them a favorite among both children and adults, creating a shared experience that brings people together.
Ingredients Overview
Before diving into the delightful process of making apple cider donuts, let’s take a closer look at the key ingredients that contribute to their amazing flavor and texture:
– Apple Cider: This is the star ingredient of the recipe. Apple cider provides moisture and a rich apple flavor that is essential to the overall taste of the donuts. Using freshly pressed apple cider can elevate the flavor profile and make your donuts truly exceptional.
– All-Purpose Flour: This flour acts as the backbone of the donut, providing the necessary structure and texture. It helps achieve the perfect balance between light and fluffy interiors while maintaining a slight density that is characteristic of cake-style donuts.
– Baking Powder and Baking Soda: These leavening agents are crucial for creating the light and airy texture of the donuts. They work together to ensure that the batter rises beautifully, resulting in a soft, tender crumb.
– Spices (Cinnamon, Nutmeg, Ginger): The warm, aromatic spices are what truly embody the flavors of fall. Cinnamon adds warmth, nutmeg brings a hint of sweetness, and ginger contributes a subtle spiciness. Together, they create a comforting flavor profile that enhances the overall experience of the donuts.
– Unsalted Butter: Butter is essential for adding richness and moisture to the batter. It also helps create a tender texture that melts in your mouth, making every bite a delightful experience.
– Granulated Sugar: This ingredient sweetens the batter and enhances the flavors. It also plays a role in achieving a beautiful golden-brown crust on the donuts.
– Egg: Eggs bind the ingredients together and provide structure to the donuts. They also contribute to the overall richness, making the donuts more satisfying.
– Buttermilk: Adding buttermilk to the batter not only contributes to a tender crumb but also introduces a slight tang that balances the sweetness of the donuts. The acidity in buttermilk also helps activate the baking soda, promoting proper leavening.
– Vanilla Extract: A splash of vanilla extract enhances the overall flavor of the donuts, adding depth and a delightful aroma that complements the spices.
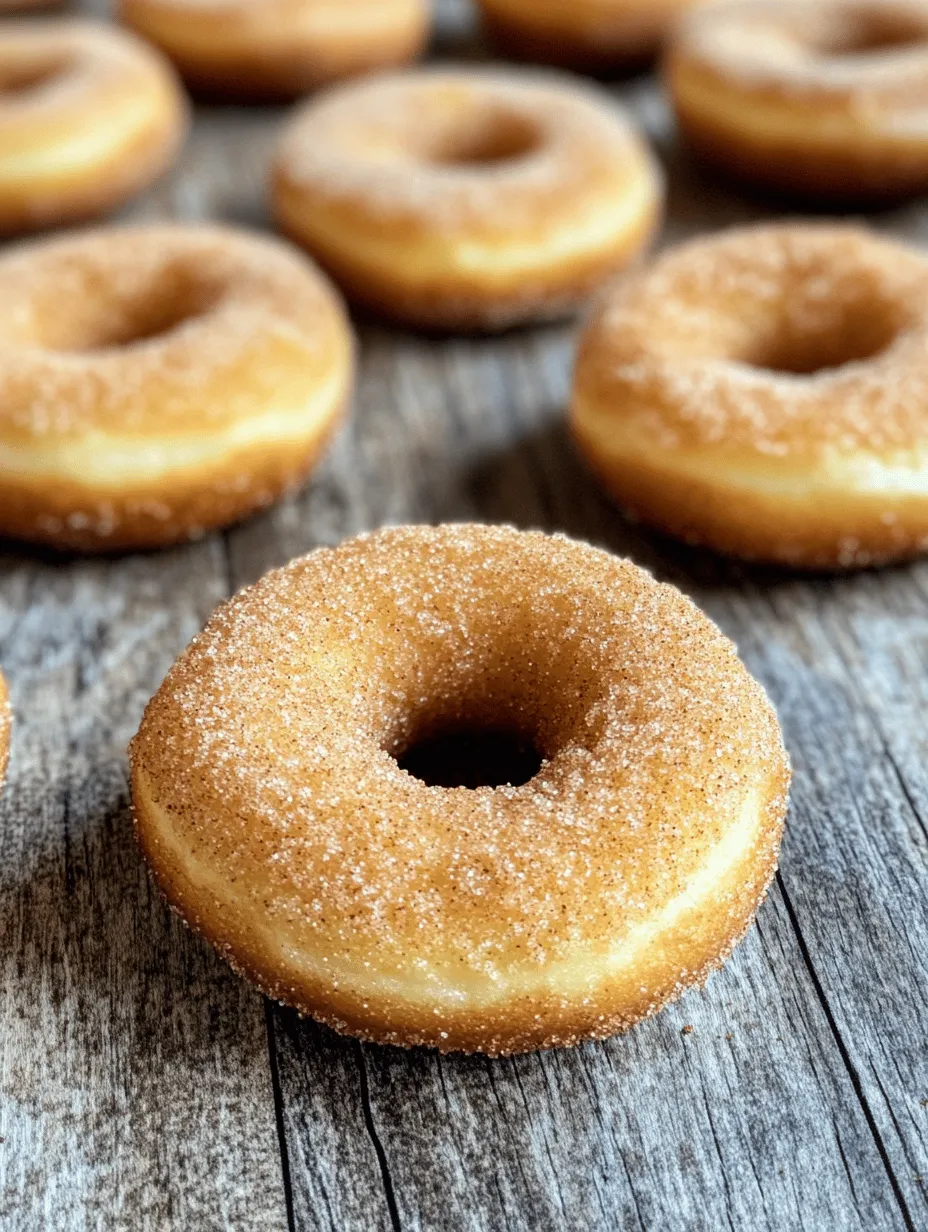
– Cinnamon-Sugar Coating: This final touch is what makes apple cider donuts truly irresistible. A mixture of granulated sugar and cinnamon is applied to the hot donuts after baking, providing a sweet and spiced finish that perfectly complements the apple flavor.
Step-by-Step Instructions
Now that we’ve explored the ingredients that make these apple cider donuts so special, it’s time to dive into the step-by-step process of creating these delightful treats. Follow these instructions carefully to ensure the best results.
Step 1: Prepare Your Ingredients
Before you begin, gather all your ingredients and tools. This will make the process smoother and more enjoyable. You’ll need a mixing bowl, a whisk, a donut pan, and a cooling rack.
Step 2: Preheat the Oven
Preheat your oven to 350°F (175°C). This ensures that your donuts will bake evenly and rise properly.
Step 3: Reduce the Apple Cider
In a small saucepan over medium heat, pour in 1 cup of apple cider. Allow it to simmer gently until it reduces to about ½ cup. This concentration of flavor is crucial for enhancing the taste of your donuts. Stir occasionally to prevent burning, and once reduced, set it aside to cool slightly.
Step 4: Mix Dry Ingredients
In a large mixing bowl, combine 2 cups of all-purpose flour, 1 teaspoon of baking powder, ½ teaspoon of baking soda, 1 teaspoon of ground cinnamon, ½ teaspoon of ground nutmeg, and ¼ teaspoon of ground ginger. Whisk these dry ingredients together until well combined. This ensures that the leavening agents and spices are evenly distributed throughout the flour.
Step 5: Cream Butter and Sugar
In a separate bowl, cream together ½ cup of unsalted butter (softened) and 1 cup of granulated sugar. Use an electric mixer or a whisk to beat the mixture until it becomes light and fluffy, which should take about 2-3 minutes. This step is essential for incorporating air into the batter, which aids in leavening.
Step 6: Add the Egg and Vanilla
Next, add 1 large egg and 1 teaspoon of vanilla extract to the creamed butter and sugar. Mix until well combined. The egg will help bind the ingredients together, while the vanilla will enhance the overall flavor.
Step 7: Combine the Ingredients
Now, it’s time to bring everything together. Gradually add the dry mixture to the wet mixture, alternating with ½ cup of buttermilk and the reduced apple cider. Start with the dry ingredients, adding about a third, then follow with half of the buttermilk, mixing gently after each addition. Repeat this process until all the ingredients are combined, being careful not to overmix the batter, as this can lead to dense donuts.
Step 8: Fill the Donut Pan
Using a piping bag or a spoon, carefully fill the donut pan with the batter, filling each cavity about two-thirds full. This allows enough room for the donuts to rise without overflowing.
Step 9: Bake the Donuts
Place the filled donut pan in the preheated oven and bake for 10-12 minutes, or until the donuts are golden brown and a toothpick inserted into the center comes out clean. Keep an eye on them as baking times can vary slightly depending on your oven.
Step 10: Cool and Coat
Once baked, remove the donuts from the oven and allow them to cool in the pan for about 5 minutes. Then, transfer them to a cooling rack. While the donuts are still warm, prepare your cinnamon-sugar coating by mixing together ½ cup of granulated sugar and 1 tablespoon of ground cinnamon in a shallow dish. Roll each donut in the cinnamon-sugar mixture until fully coated.
By following these steps, you’ll have a batch of delicious, homemade apple cider donuts that are sure to impress. Stay tuned for the next part of this article, where we’ll explore tips for achieving the best results and answer some common questions about this delightful fall treat.

Preheat the Oven: Importance of Proper Temperature for Baking
Before diving into the actual mixing and baking of your irresistible apple cider donuts, it’s crucial to preheat your oven to 350°F (175°C). Proper temperature is the foundation of successful baking, ensuring that your donuts rise evenly and develop a beautiful, golden-brown crust. An oven that isn’t adequately preheated can lead to uneven baking, resulting in donuts that are either too doughy or overcooked on the outside while remaining raw inside. Invest those few extra minutes to let the oven reach the right temperature; your donuts will thank you!
Boiling the Apple Cider: Concentrating Flavor
The first step in creating your flavorful apple cider donuts is boiling the apple cider. Pour 2 cups of fresh apple cider into a saucepan and bring it to a boil over medium-high heat. Allow it to simmer until reduced to about 1 cup, which usually takes around 15-20 minutes. This process concentrates the apple flavor, intensifying the sweetness and adding a rich depth to your donuts that can’t be matched with unboiled cider. Not only does it enhance the taste, but it also helps to create a moist texture that is essential for a perfect donut.
Combining Dry Ingredients: Importance of Thorough Mixing
While the cider is boiling down, prepare your dry ingredients. In a large mixing bowl, combine 2 cups of all-purpose flour, 1 teaspoon of baking powder, 1 teaspoon of baking soda, 1 teaspoon of cinnamon, ½ teaspoon of nutmeg, and ½ teaspoon of salt. Whisk these ingredients together thoroughly to ensure an even distribution of the leavening agents and spices. This step is crucial; it prevents clumping and ensures that every bite of your donut is flavorful and light. Remember, the key to great baking is in the details!
Mixing Wet Ingredients: Achieving a Smooth, Homogenous Batter
Once your apple cider has boiled down, it’s time to mix the wet ingredients. In a separate bowl, combine the reduced apple cider, ½ cup of granulated sugar, ½ cup of brown sugar, 2 large eggs, and ¼ cup of melted butter. Use a whisk to blend these ingredients until they are smooth and fully combined. Pay attention to the texture; a homogenous batter will bake more evenly, contributing to the overall quality of your donuts. If you see any lumps or unevenness, give your mixture a few more vigorous stirs.
Folding Wet and Dry Ingredients: Avoiding Overmixing
Now comes the moment of truth: combining your wet and dry ingredients. Pour the wet mixture into the bowl with the dry ingredients, and using a spatula, gently fold the two mixtures together. It’s important to use a folding technique rather than vigorous stirring, as this helps to avoid overmixing, which can lead to tough donuts. Mix just until you no longer see dry flour; a few lumps are perfectly fine. Overmixing can develop the gluten in the flour, resulting in a chewy texture instead of the light, fluffy donuts you desire.
Filling the Donut Pan: Best Practices for Achieving the Perfect Donut Shape
When it comes to filling your donut pan, a few best practices can help ensure that your donuts come out perfectly shaped. Use a pastry bag or a zip-top bag with one corner snipped off to pipe the batter into the greased donut pan. Fill each cavity about ⅔ full to allow room for the donuts to rise without overflowing. If you don’t have a piping bag, a spoon can work as well, but be careful to fill each cavity evenly. A properly filled pan will result in donuts that are uniform in shape and size, making for an aesthetically pleasing presentation.
Baking Process: Visual Cues for Knowing When the Donuts Are Ready
With the oven preheated and the batter in the pan, place your filled donut pan in the center of the oven. Bake for 10 to 12 minutes or until the edges are golden brown and a toothpick inserted into the center comes out clean. Keep an eye on them; baking times can vary slightly depending on your oven. You’ll know they’re done when they spring back lightly when touched and have a lovely, aromatic scent wafting through your kitchen. Resist the urge to open the oven door too soon, as this can cause the temperature to drop and affect the baking process.
Cooling and Coating: Timing for the Best Texture
Once your donuts are baked to perfection, remove them from the oven and let them cool in the pan for about 5 minutes. This cooling period allows them to set slightly, making them easier to remove without breaking. Afterward, gently transfer the donuts to a wire rack to cool completely. While they are still warm, it’s the perfect time to coat them in your choice of toppings. Roll them in a mixture of cinnamon and sugar for the classic flavor, or drizzle with a simple glaze made of powdered sugar and milk for a sweeter touch. The key is to coat them while they are still warm, ensuring that the toppings adhere perfectly for that irresistible finish.
Baking Tips for Perfect Apple Cider Donuts
Even seasoned bakers can encounter pitfalls when making apple cider donuts. Here are some common mistakes to avoid:
– Overmixing: As noted earlier, overmixing your batter can lead to tough donuts. Mix just until combined, and you’ll be rewarded with a tender texture.
– Underbaking: Keep a close eye on your donuts while they bake. Underbaking can result in a doughy interior, while overbaking can dry them out. Use visual cues and a toothpick to determine doneness.
– Stale Spices: Fresh spices make a world of difference in the flavor profile of your donuts. Make sure your cinnamon and nutmeg are fresh for the best taste.
– Frying vs. Baking: While baking is a healthier option, frying can yield an incredibly light and fluffy texture. If you choose to fry, ensure the oil is at the right temperature (around 350°F) and be cautious of cooking times to avoid greasy donuts.
Serving Suggestions
Once your donuts are perfectly baked and coated, it’s time to enjoy them! Pair your apple cider donuts with a steaming cup of coffee or tea for a cozy afternoon treat. For a festive touch, serve them alongside warm apple cider, enhancing the fall flavors. You can also get creative with your presentation by drizzling them with caramel sauce, adding a sprinkle of sea salt for a sweet-salty contrast, or filling them with apple compote for an extra burst of flavor. The possibilities are endless!
Storing and Reheating
To keep your donuts fresh, store any leftovers in an airtight container at room temperature for up to two days. For longer storage, consider freezing them. Simply place the cooled donuts in a freezer-safe bag, and they can last for up to three months. To reheat, simply pop them in a 350°F oven for about 5-10 minutes or microwave them for a few seconds until warmed through. This will help maintain their texture and flavor, making them just as delightful as when they were freshly baked.
Conclusion
Homemade apple cider donuts are not just a treat; they are a celebration of seasonal flavors that evoke the warmth and coziness of fall. With their irresistible taste and delightful aroma, these donuts are perfect for sharing at gatherings, enjoying with family, or savoring during a quiet moment of indulgence. The process of baking these treats is equally rewarding, allowing you to channel the essence of the season into each bite. So gather your ingredients, follow this recipe, and relish in the joy of creating something truly special. These apple cider donuts will undoubtedly be a favorite among friends and family, bringing a touch of autumnal magic to your kitchen.