In the fast-paced world we live in, finding a meal that strikes the perfect balance between convenience, flavor, and satisfaction can be a challenge. Enter Cheesy Garlic Chicken Wraps, a culinary marvel that not only pleases the palate but also caters to busy lifestyles. These wraps are an excellent choice for quick weeknight dinners, family gatherings, or meal prep for the busy week ahead. With their delightful combination of tender chicken, gooey cheese, and fragrant garlic, these wraps are sure to become a favorite in your household.
Understanding Cheesy Garlic Chicken Wraps
Cheesy Garlic Chicken Wraps stand out for their simplicity and versatility. At their core, these wraps combine cooked chicken, cheese, and garlic, creating a flavor explosion that is both comforting and satisfying. The cultural influence of wraps can be traced across various cuisines, from Middle Eastern shawarmas to Mexican burritos, showcasing the universal appeal of filling ingredients wrapped in a soft, convenient format. This adaptability allows for endless variations, making it easy to incorporate seasonal ingredients or personal preferences.
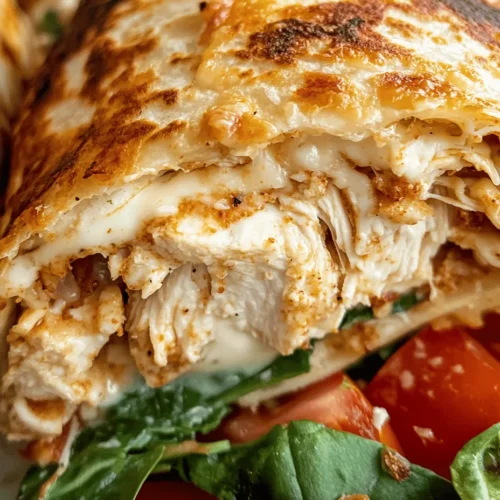
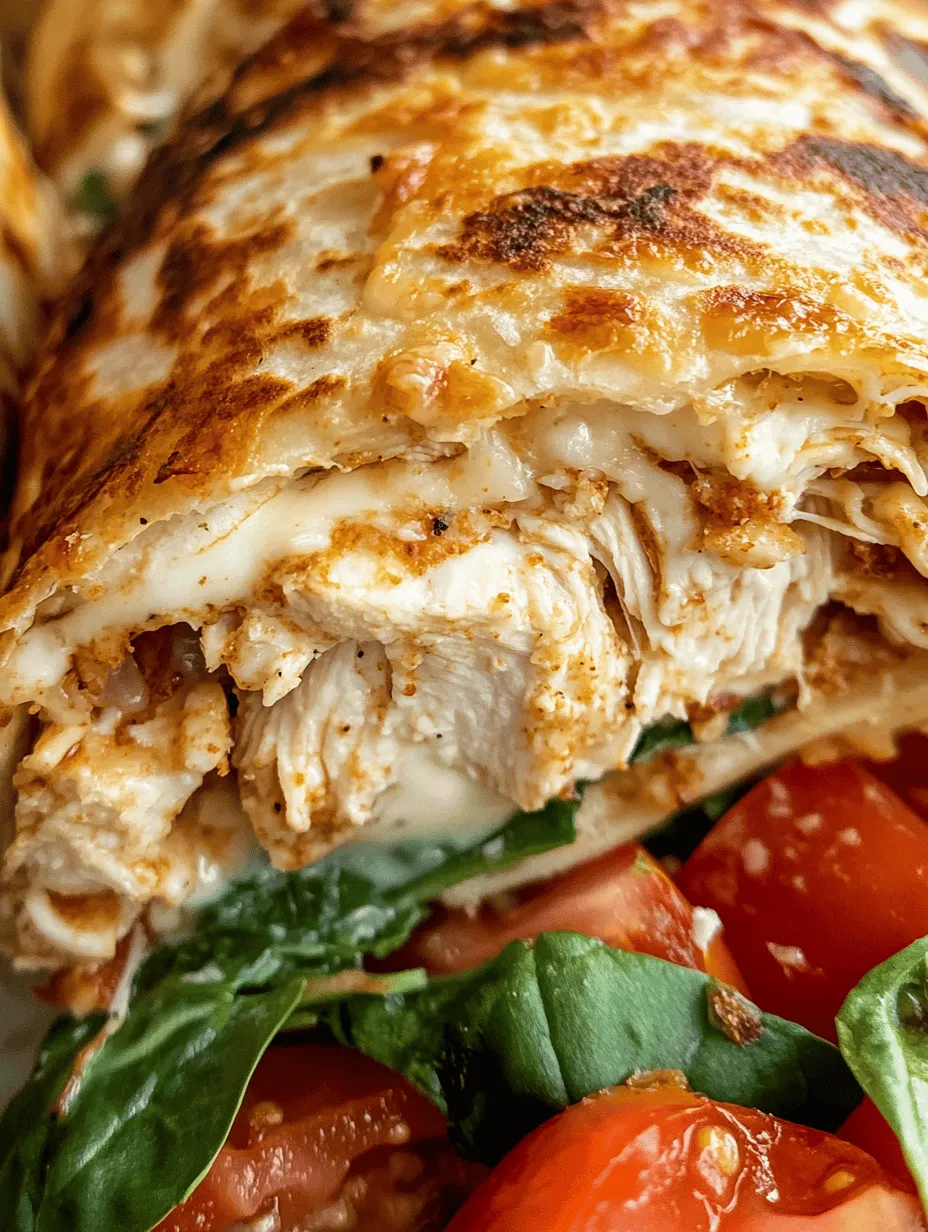
The beauty of Cheesy Garlic Chicken Wraps lies in their ability to bring together a medley of flavors and textures. The creamy, melted mozzarella cheese melds beautifully with the savory chicken, while the garlic adds a robust depth of flavor. Each bite offers a satisfying crunch from the tortilla, balanced with the freshness of spinach and the brightness of diced tomatoes. This dish is not just a meal; it’s an experience that will leave everyone asking for seconds.
Ingredients Breakdown
To create the perfect Cheesy Garlic Chicken Wraps, a well-thought-out selection of ingredients is essential. Here’s a closer look at each component and its role in the recipe:
– Chicken Breasts: The foundation of these wraps is tender, cooked, and shredded chicken. Not only is chicken a rich source of protein, but it also lends a savory flavor that pairs wonderfully with the other ingredients. Opting for rotisserie chicken can save time while still delivering a delicious outcome.
– Shredded Mozzarella Cheese: Known for its exceptional melting properties, mozzarella cheese is a key player in this recipe. It adds that desired creaminess and pulls apart beautifully when the wraps are heated, creating an irresistible cheesy experience.
– Cream Cheese: This ingredient contributes to the richness of the filling. Cream cheese helps bind the mixture together while providing a velvety texture that complements the chicken and mozzarella, making each bite feel luxurious.
– Garlic: Garlic is not just a flavor enhancer; it also brings numerous health benefits to the table. Known for its anti-inflammatory and immune-boosting properties, garlic adds a pungent aroma and a robust taste that elevates the overall flavor profile of the wraps.
– Italian Seasoning: This herb blend typically includes ingredients like basil, oregano, and thyme, which contribute aromatic notes and a burst of flavor. The seasoning ties all the components together, ensuring every bite is as flavorful as the last.
– Salt and Pepper: Simple yet effective, salt and pepper are essential for elevating flavors. They enhance the natural taste of the chicken and other ingredients, ensuring that your wraps are well-seasoned and delicious.
– Flour Tortillas: The choice of tortilla can significantly impact the wrap’s integrity. Flour tortillas are soft and pliable, making them perfect for wrapping without tearing. You can also experiment with whole wheat or even gluten-free options for a healthier twist.
– Fresh Spinach Leaves: Spinach not only adds a pop of color but also boasts nutritional benefits. It’s rich in vitamins and minerals, providing a fresh crunch that balances the richness of the cheese and chicken.
– Diced Tomatoes: The addition of diced tomatoes brings a refreshing burst of flavor and moisture to the wraps. Their juiciness complements the other ingredients, adding a layer of freshness that brightens each bite.
– Grated Parmesan Cheese: Sprinkled on top before baking, grated Parmesan adds a salty, nutty flavor as well as a crispy texture when baked. It enhances the overall taste and gives the wraps an appetizing golden finish.
– Olive Oil: A drizzle of olive oil before baking not only helps crisp up the wraps but also contributes healthy fats. Olive oil is known for its heart-healthy benefits, making it a great addition to this dish.
– Optional Hot Sauce: For those who enjoy a kick of heat, adding hot sauce can elevate the flavor profile. It caters to spice lovers and can be adjusted to taste, ensuring everyone can enjoy the wraps just the way they like them.
Step-by-Step Instructions
Now that we’ve discussed the ingredients, let’s dive into the preparation process for these Cheesy Garlic Chicken Wraps. Follow this detailed guide to ensure a successful and delicious outcome.
Preheating the Oven
Before you even begin mixing your ingredients, it’s crucial to preheat your oven. Set your oven to 375°F (190°C) to ensure it reaches the right temperature for baking. Preheating is a critical step that helps achieve even cooking, allowing the cheese to melt perfectly and the tortillas to crisp up without becoming soggy.
Preparing the Chicken Mixture
1. Shred the Chicken: If you’re using cooked chicken breasts, allow them to cool slightly before shredding. Using two forks, shred the chicken into bite-sized pieces. If you’re using rotisserie chicken, simply remove the skin and bones before shredding the meat.
2. Mix Ingredients: In a large mixing bowl, combine the shredded chicken with the cream cheese, shredded mozzarella, minced garlic, Italian seasoning, salt, and pepper. It’s important to mix these ingredients thoroughly; using a spatula or wooden spoon ensures that the cream cheese is evenly distributed, creating a cohesive filling.
3. Add Fresh Ingredients: Once the chicken mixture is well combined, gently fold in the fresh spinach leaves and diced tomatoes. Be careful not to overmix; you want to maintain the integrity of the spinach and tomatoes for added texture and freshness.
4. Taste and Adjust: Before assembling your wraps, take a moment to taste the mixture. You may want to add a pinch more salt or pepper based on your preference. If you’re a fan of heat, this is the time to stir in a few dashes of hot sauce.
5. Prepare Tortillas: Lay out your flour tortillas on a clean surface. Depending on the size of your tortillas and your preference, you can choose to use large burrito-sized tortillas or smaller ones for individual servings.
By following these initial preparation steps, you’ll set a solid foundation for your Cheesy Garlic Chicken Wraps, ensuring a delicious and satisfying meal that everyone will enjoy. Keep your oven preheating, and stay tuned as we guide you through the assembly and baking process in the next section.
Assembling the Wraps
When it comes to creating the perfect Cheesy Garlic Chicken Wraps, the assembly process is crucial to ensure that each bite is bursting with flavor while maintaining structural integrity. Begin by laying out a tortilla on a clean, flat surface, such as a cutting board. If you’re using larger tortillas, they can hold more filling, so choose based on your preference for portion size.
Visual Cues for Proper Assembly:
1. Filling Placement: Start by placing a generous scoop of the cheesy garlic chicken mixture in the center of the tortilla. Aim for about one-third of the way up from the bottom edge of the tortilla. This placement allows ample space to fold and roll without spilling.
2. Layering Ingredients: Next, add additional toppings such as fresh spinach, diced tomatoes, or sliced avocados over the chicken mixture. Keep these toppings towards the center to prevent them from spilling out during the rolling process.
3. Folding Techniques: To wrap it up, first, fold the sides of the tortilla inward, covering the filling. Then, starting from the bottom edge, tightly roll the tortilla upward, tucking it as you go. The sides should stay tucked in, creating a neat wrap that holds its shape.
Wrapping It Up
Even seasoned cooks can make mistakes when it comes to rolling wraps. Here are some common pitfalls to avoid:
– Overfilling: It’s tempting to add a lot of filling, but too much can make it difficult to roll. Stick to the recommended portions for the best results.
– Skipping the Fold: Failing to fold the sides in before rolling can lead to spills and messy wraps. Always make sure to secure the sides first.
– Rushing the Roll: Take your time when rolling the wrap. A gentle but firm hand will help keep everything together without tearing the tortilla.
By paying attention to these details, you can create wraps that not only taste great but also look appealing on the plate.
Baking the Wraps
Once the wraps are assembled, it’s time to bake them to achieve that deliciously crispy exterior. Preheat your oven to 400°F (200°C). This temperature is ideal for ensuring that the tortillas crisp up while the cheese melts beautifully inside.
Cooking Time:
– Place the assembled wraps seam-side down on a baking sheet lined with parchment paper to prevent sticking. Bake for about 15-20 minutes or until the wraps are golden brown and crisp.
Temperature Nuances:
– If you prefer a softer wrap, you can reduce the cooking time slightly or bake at a lower temperature. Keep an eye on them to avoid burning.
Optional Broil: For an extra crispy finish, you can broil the wraps for the last 2-3 minutes of baking. Just be vigilant as they can brown quickly under the broiler.
Serving Suggestions
Presentation can elevate your Cheesy Garlic Chicken Wraps from a simple meal to an enticing dish perfect for entertaining. Here are some ideas for plating:
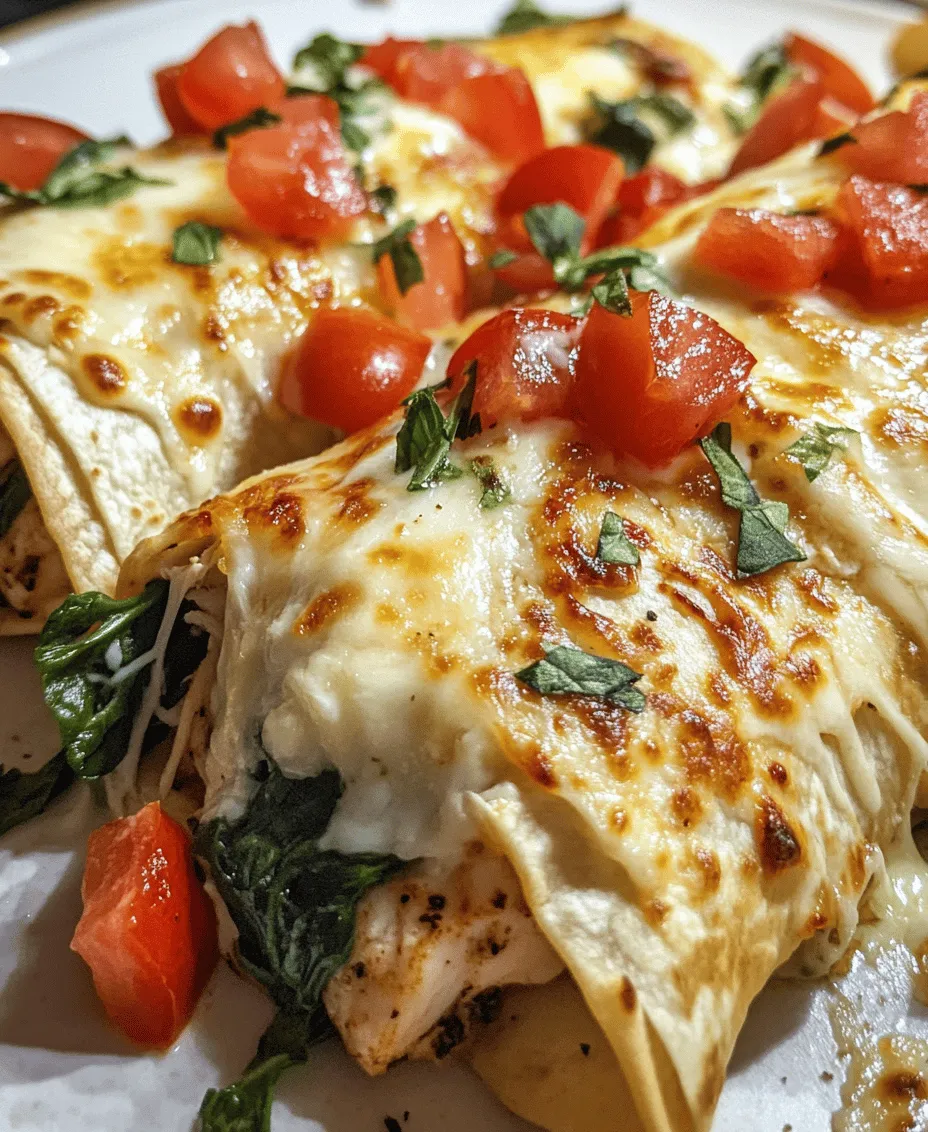
– Plating the Wraps: Cut each wrap in half diagonally to showcase the colorful filling. Arrange them on a large platter or individual plates with the cut sides facing up for an appealing view.
– Garnish: Add a sprinkle of chopped fresh herbs, such as parsley or cilantro, for a pop of color. A dollop of sour cream or a drizzle of ranch dressing can also enhance the visual appeal and add a creamy element.
– Accompaniments: Serve with a side of fresh salad or a light dipping sauce such as guacamole or salsa. This not only adds flavor but also makes the meal feel complete.
Nutritional Information
Understanding the nutritional content of your Cheesy Garlic Chicken Wraps can help you enjoy this delicious dish while keeping track of your dietary goals. Here’s a breakdown per serving (assuming two halves of a wrap):
– Calories: Approximately 350-400 calories
– Macronutrient Breakdown:
– Protein: 25g
– Fat: 15g
– Carbohydrates: 30g
Vitamins and Minerals: Key ingredients like chicken provide essential B vitamins, while cheese contributes calcium. Fresh vegetables add a range of vitamins, including Vitamin A from spinach and Vitamin C from tomatoes.
Customization Options
One of the best features of Cheesy Garlic Chicken Wraps is their versatility. Here are some ways to modify the recipe to suit various dietary preferences:
– Alternative Proteins: Substitute the chicken with turkey for a leaner option, or use tofu or plant-based chicken for a vegetarian or vegan version. Marinade your protein of choice in the same garlic and herb mixture to infuse flavor.
– Cheese Variations: While mozzarella provides a classic melt, consider using pepper jack for a spicy kick, feta for a tangy twist, or a dairy-free cheese alternative to cater to lactose-intolerant guests.
– Additional Veggies: Enhance the nutrition and texture by adding roasted red peppers, sautéed mushrooms, or even grilled zucchini. These vegetables can add depth to the flavor of the wraps and increase the fiber content.
– Spices and Seasonings: Experiment with different herbs and spices. Adding smoked paprika or Italian seasoning can give the wraps a new dimension, while fresh herbs like basil or cilantro can brighten up the flavor profile.
Serving and Pairing Suggestions
To complete your meal, consider pairing your Cheesy Garlic Chicken Wraps with complementary sides and beverages:
– Fresh Salads: A simple side salad with mixed greens, cherry tomatoes, and a light vinaigrette can balance the richness of the wraps. Feel free to toss in some nuts or seeds for added crunch.
– Dips: Offer a selection of dips like guacamole, salsa, or a zesty yogurt sauce. These can enhance the flavor experience and provide different textures.
– Beverage Recommendations: Serve your wraps with refreshing beverages. Iced tea or lemonade works well to cleanse the palate, while a light beer or sparkling water can add a festive touch.
Conclusion
Cheesy Garlic Chicken Wraps are not only a delicious and easy-to-make recipe, but they also serve as a canvas for creativity in the kitchen. Whether you’re enjoying them as a quick lunch, a satisfying dinner, or a party appetizer, their appeal lies in their versatility and flavor. The combination of cheesy goodness with garlic-infused chicken and fresh vegetables creates a mouthwatering experience that is sure to please.
Don’t hesitate to experiment with the recipe, adding your personal touch and sharing it with family and friends. Cooking is about joy and connection, and these wraps are a perfect way to bring loved ones together over a shared meal. Enjoy the process and the delightful results!